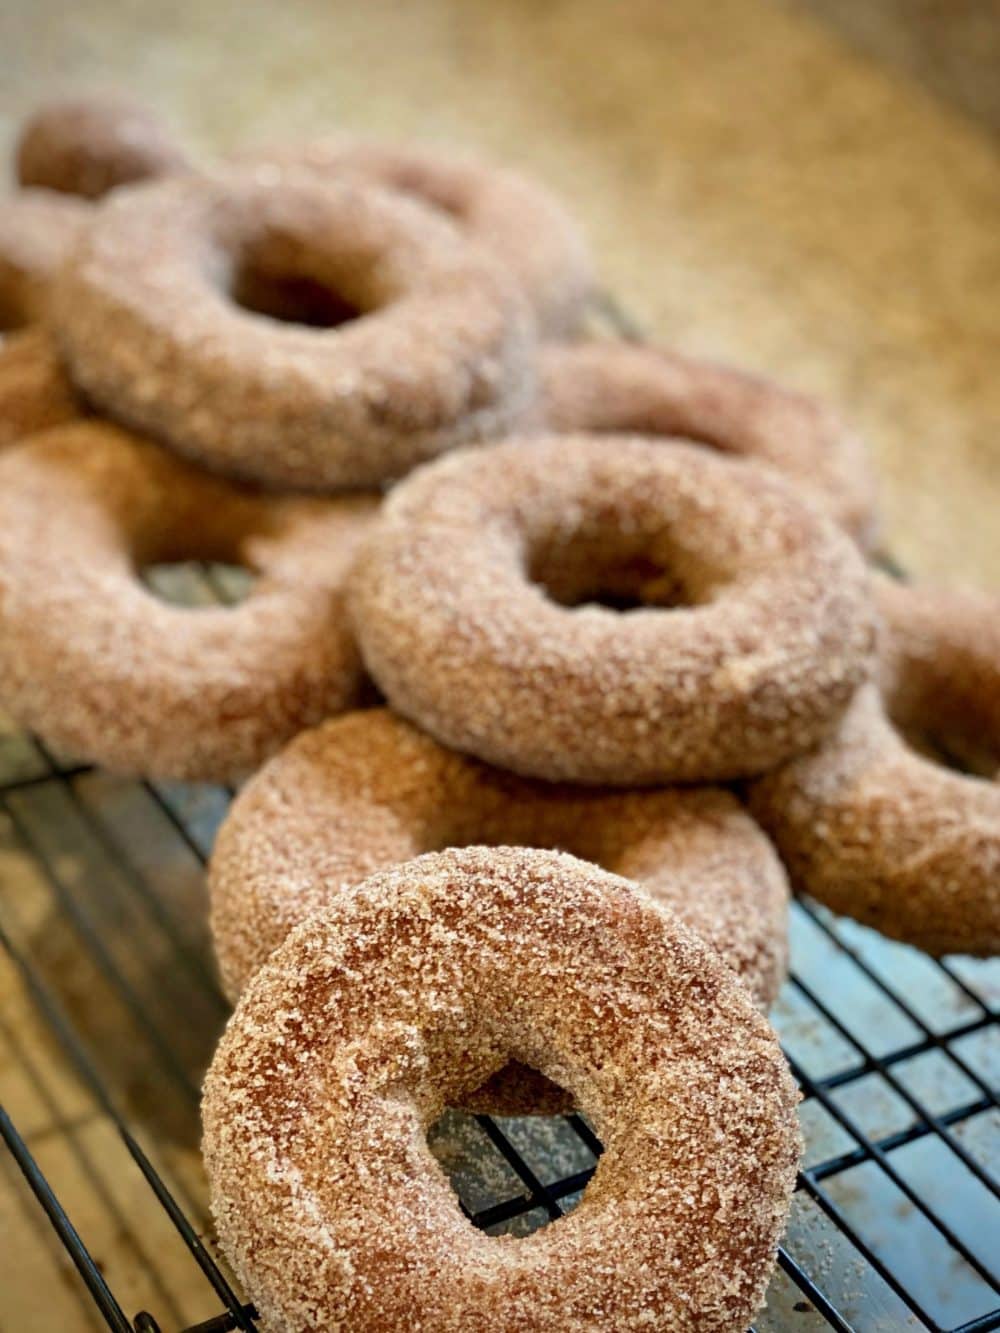
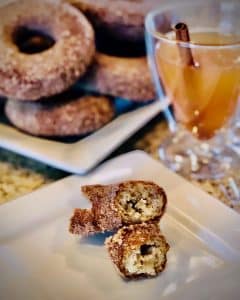
Gluten-Free Apple Cider Donuts
It’s officially Fall here in Michigan, which means colder temperatures, beautiful autumn colors on the trees, and warm apple cider. Admittedly, I’m much more of a warm weather person so it can be difficult for me to “get in the spirit” of the season. One easy way however, is to break-out the fryer and make some apple cider donuts. Who doesn’t love donuts?!
These are absolutely amazing. Converted from an old-fashioned buttermilk donut recipe, and using a flavor bursting apple cider reduction, this recipe puts even me in the mood for apple farms and fireside chats.
Gluten-Free Apple Cider Donuts
Serving Size: About 12 3.5 inch Donuts
- Prep Time: 30 minutes
- Total Time: 1 hour, 30 minutes
Donut Ingredients
· 4 ¼ Cups (638 grams) of my Gluten-Free Flour Blend
· 4 Tsp Baking Powder
· 1 Tsp Baking Soda
· 1 Tsp Corse Salt
· 2 Tsp Ground Cinnamon
· ½ Tsp Ground Nutmeg
· 1 Cup Cane Sugar
· 6 Tbsp Butter (Room Temp)
· 2 Eggs (Room Temp)
· 2 Tsp Vanilla
· ¼ Cup Buttermilk (Room Temp)
· 1 Cup Apple Cider Reduction* (Room Temp)
· 1.5 – 2.0 quarts of canola oil for frying
Donut Coating Ingredients
· 1 Cup Sugar
· 1 Tbsp Ground Cinnamon
Directions
Apple Cider Reduction*
Try and get the stuff from a local cider mill if you can—it’s fresh, and extremely perishable. Some local boutique markets will also partner with local mills, so you can check with them as well.
1. Start with 3 Cups of fresh apple cider, and pour into a saucepan.
2. Heat the cider over medium-high heat.
3. Stirring occasionally, reduce the cider down until it’s only 1 Cup.
4. Remove from heat, and pour into a Pyrex container and let cool completely. This process can be done a day in advance if necessary. If refrigerated, allow cider to come to room temp before using.
Dry Ingredients
1. Measure and sift the gluten-free flour blend into a large mixing bowl.
2. Add the Baking Powder, Baking Soda, Salt, Ground Cinnamon & Nutmeg to the gluten-free flour blend.
3. In a separate mixing bowl, add the butter. You want to beat the butter for a minute or two and get some air into it. No need to whisk, beating is fine.
4. Add 1 Cup of the sugar, and cream together with the butter. This may take two or three minutes, but you want your butter/sugar mix to be light and pale in color, but not quite whipped.
5. Add the two eggs, and mix for another minute.
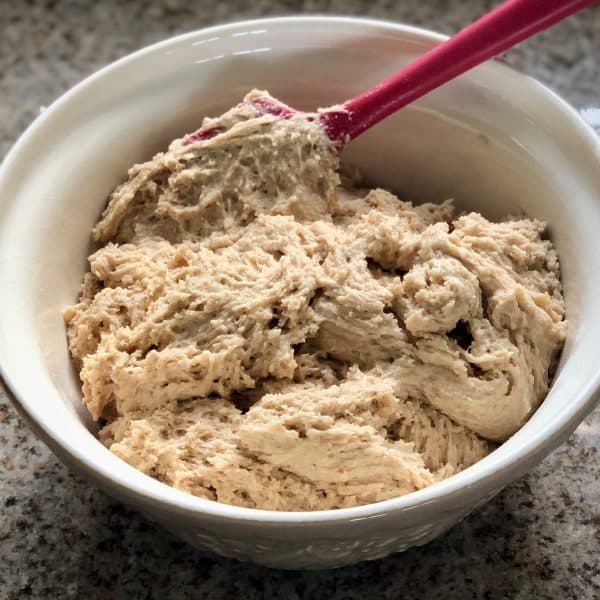
6. Add the vanilla and blend just until mixed. You should have a homogenous, well blended, almost batter-like mixture.
7. At this point, you should have four containers going:
· your egg/sugar/butter mixture,
· your gluten-free flour & dry ingredient mixture,
· your buttermilk &
· your apple cider reduction
8. Due to the acidic nature of the apple cider & buttermilk, you don’t want to just dump them into the butter mixture, otherwise it will curdle the mixture, and look pretty funky. You want to follow the classic buttermilk cake process of 1/3, 1/3, 1/3, blending in-between (thank you Joy of Cooking) as seen below.
9. Blending on low speed, add 1/3 of the gluten-free flour blend to the egg/sugar/butter mixture, then add 1/3 of the apple cider reduction, and 1/3 of the buttermilk. Repeat this process two more times until all of your ingredients are in the mixing bowl and combined. Do not overmix this batter, just blend until it’s all together.
10. Once combined, cover the bowl and refrigerate for 1 hour.
11. Prepare your oil for frying with about 20-30 into the refrigeration of your donut batter. You want oil to maintain a temperature of 350°F (180°C) when you are frying. If the oil is too hot, you will burn the donuts, and if oil is too cold, your donuts will not be cooked enough.
12. While the oil is heading up, cut some parchment paper into 4-5 inch squares. I use these to place my donuts on when inserting into the frying oil. The paper makes transferring and handling the donuts much easier once you have cut them out. The parchment squares can be removed from the oil within seconds of inserting them by using a pair of kitchen tongs. You’re going to fry the donuts in batches, and you can reuse the parchment squares, so you don’t have to go wild with these. 6-8 squares is plenty.
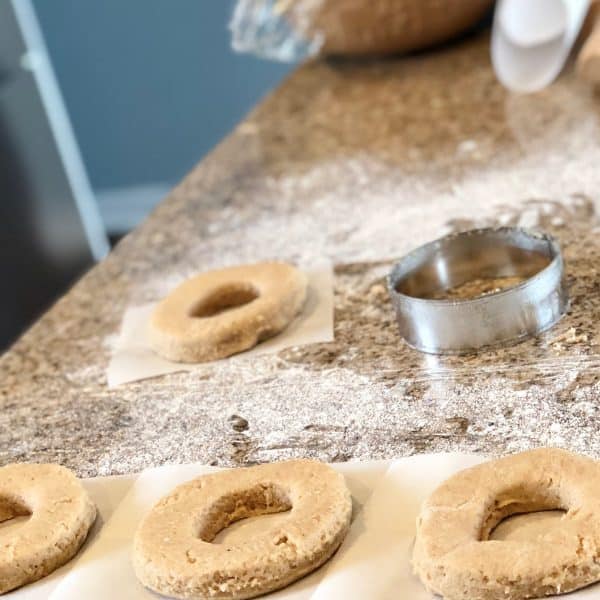
13. Once the hour is up, prepare and dust a flat surface with flour for rolling out the dough. You can roll all of it, or work in batches. If you work in batches, keep the remaining dough in the refrigerator.
14. Roll your dough to about 1/2 to 5/8 inch thickness. I prefer around 5/8 thickness for these. Using a knife, biscuit cutter, or if you have one, a donut cutter and cut out 3 or 4 of these at a time. You can put the remaining dough back in the refrigerator for re-rolling the next batch.
15. Carefully drop the donuts into the oil one at a time. Do not over-crowd them in the fryer, two or three at a time is perfect. After 10-20 seconds, you can remove the parchment paper squares from the oil, and the donuts should be starting to look like donuts. After a minute, carefully flip them over in the oil the they cook evenly. After about two minutes they should be done.
16. Remove the donuts from the oil, and let them drain on a paper towel for a minute before tossing them in the sugar coating mix.
17. Fully coat the donut in the sugar mix, and set on a wire rack to cool.
18. Repeat the cutting, frying, coating steps until all of your batter is used up. You can even roll some of the dough into balls for donut holes if you wish.
19. Like most gluten-free treats, the donuts will still be cooking while they are cooling, so let them finish on the rack for 15 – 20 minutes before devouring.
20. These can be stored for a couple of days in an air-tight container, or frozen for 30-60 days.